As an Amazon Associate, we earn from qualifying purchases. Some links on this site are affiliate links at no extra cost to you. Our recommendations are based on thorough research and editorial judgment.

Handheld Long Exposures: What’s Realistic With Modern Stabilization
With modern stabilization technologies like In-Body Image Stabilization (IBIS) and Optical Image Stabilization (OIS), we can achieve impressive handheld long exposures, even in low-light conditions. These systems reduce camera shake, allowing us to use slower shutter speeds, often up to 30 seconds. By selecting the right gear and applying techniques like body anchoring and burst mode, we can enhance our results. Understanding these methods can help us push our photography limits and create stunning images.
Key Takeaways
- Modern stabilization technologies like In-Body Image Stabilization (IBIS) enable handheld long exposures up to 30 seconds with minimal shake.
- Utilizing Optical Image Stabilization (OIS) on lenses enhances clarity during handheld shots, especially in low-light conditions.
- Techniques like body anchoring and using camera straps improve stability and allow for sharper images at slower shutter speeds.
- Stacking multiple shorter exposures can achieve long-exposure effects while maintaining detail and clarity in the image.
- Experimenting with shutter speeds and using ND filters allows creative motion effects in dynamic scenes even when shooting handheld.
The Evolution of Stabilization Technology
Have you ever wondered how stabilization technology has evolved over the years? It’s fascinating to see how it’s transformed from basic tools like tripods and monopods into advanced systems that really help capture sharp images. In the beginning, photographers had to rely on sturdy tripods to keep their cameras steady, which was fine but not always practical, especially on the go.
Then, technology introduced Optical Image Stabilization (OIS). This cool feature uses small mechanical adjustments in the lens to counteract camera shake while shooting. For example, when you’re taking a quick shot of a moving subject, OIS can make a big difference, keeping your images crisp. The next big leap was In-Body Image Stabilization (IBIS). This innovation shifts the camera’s sensor itself to counteract shake, which works well with any lens you attach.
After IBIS, we saw the rise of digital image stabilization (DIS). Instead of working in real time, DIS uses algorithms after the fact to smooth out any motion blur. While it’s a helpful tool in certain situations, it sometimes sacrifices a bit of image quality. Now, the best of both worlds comes together in hybrid stabilization, which combines the strengths of OIS and DIS to offer even smoother shots. This evolution really highlights how the focus has been on improving the clarity of handheld photography and long exposures, making capturing stunning images easier for everyone. In recent years, the introduction of electronic gimbal stabilization has further revolutionized handheld shooting by actively counteracting shake in multiple axes for cinematic smoothness.
Techniques for Achieving Handheld Long Exposures
If you’re looking to master handheld long exposures, you’re in for a treat! There are some nifty techniques that can help you keep your images sharp and clear, even when the light gets a bit tricky. First off, if your camera has In-Body Image Stabilization (IBIS), that’s a fantastic feature to use. It really helps reduce any shake you might cause while shooting, which means you can use slower shutter speeds without having to worry about blurring your shot. For instance, if you’re shooting a sunset, you might find yourself holding the shutter open for a bit longer—IBIS makes that so much easier.
Next, let’s talk about body anchoring, which is basically about how you hold the camera. A simple tip is to tuck your elbows close to your body and use the camera strap to steady yourself while you shoot. Think of it like getting your stance right in a sport; the more stable you are, the better your shot will be. Also, consider using burst mode! This lets you take multiple shots in quick succession, which can really increase your chances of getting that perfect frame.
Finally, don’t forget to play around with your exposure times. For example, shooting for around 0.5 seconds can lead to some cool effects, especially if you stack those images in post-processing. Just keep in mind that if you do decide to use a tripod down the line, it’s best to switch off the IBIS to keep everything super stable. Tripods with features like quick release mechanisms can also speed up your setup process and help you take advantage of longer exposures without hand fatigue. With these tips in mind, you’ll be well on your way to capturing incredible handheld long exposures! So, what’s next on our photography adventure?
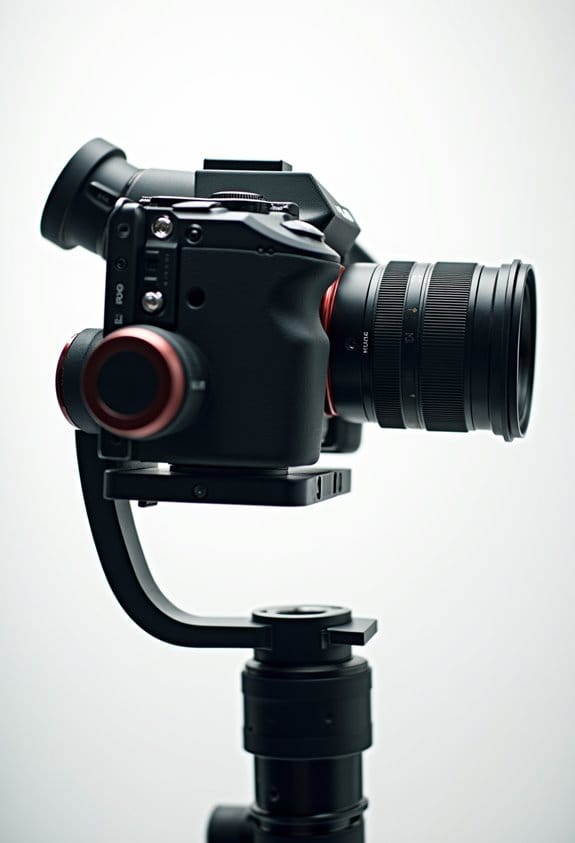
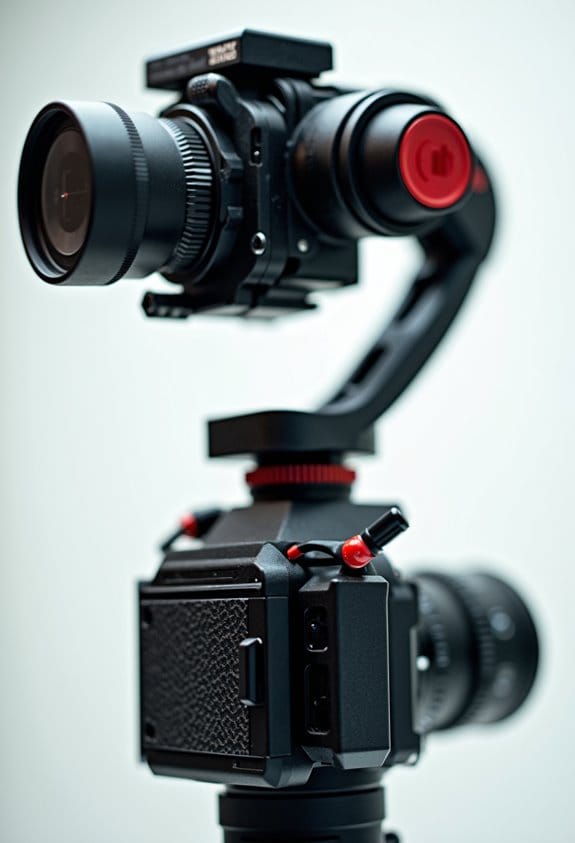
Choosing the Right Gear for Stability

Hey there! If you’re looking to capture those stunning handheld long exposures, choosing the right gear for stability is super important. Lenses equipped with Optical Image Stabilization (OIS) or cameras with In-Body Image Stabilization (IBIS) can really help reduce shake and give you those crisp shots you want. For instance, the Tamron 70-180mm F/2.8 Di III VC VXD lens is a fantastic option; it’s known for its great stabilization when paired with compatible cameras, making it much easier to get sharp images, especially in low light situations.
Now, if you’re using telephoto lenses, make sure to keep their firmware up to date. This little step can really boost their compatibility and stabilization effectiveness with newer camera models. And while tripods or gimbals are great for improving stability, don’t forget to switch off any stabilization features while using them – this prevents any conflicts that could lead to unwanted blurriness. Many Fujifilm mirrorless cameras feature advanced in-body image stabilization that complements stabilized lenses perfectly, offering enhanced image stabilization performance for handheld shooting.
The Role of Shutter Speed in Handheld Exposures
Hey there! So, let’s chat about shutter speed and why it’s such a game-changer for handheld long exposures. You know that classic rule of thumb we often hear? It says you should use a shutter speed of 1 divided by your focal length to keep things sharp. For example, if you’re using a 200mm lens, you ideally want your shutter speed to be at least 1/200 second. But here’s the cool part: modern stabilization systems, like Optical Image Stabilization (OIS) or In-Body Image Stabilization (IBIS), actually let you slow things down a bit while still getting clear shots!
Imagine you’re out with a 50mm lens that has a solid 5 stops of stabilization. Instead of being stuck with that 1/200 second speed, you could push it down to 1/8 second without worrying too much about motion blur. Pretty neat, right? But remember, experimenting with different shutter speeds is key—especially in low-light situations where the balance between exposure and sharpness can get tricky.
Think about it: if you’re capturing a bustling street scene at sunset, a longer exposure might give that smooth, flowing feel to the moving cars or people, creating a nice contrast against the still buildings. Understanding how shutter speed works will really elevate your photography skills, no matter what kind of conditions you’re shooting in. Let’s keep exploring how these settings can affect your images! Additionally, pairing your camera with reliable quick release clamps can enhance your shooting stability and efficiency during handheld long exposures.
Leveraging Burst Mode and IBIS for Enhanced Results
You know, leveraging burst mode with In-Body Image Stabilization (IBIS) can really step up your handheld photography game! Burst mode lets you snap a bunch of photos in quick succession, which is super helpful when you’re trying to catch that perfect moment—especially when the lighting isn’t great. For example, if you’re out at dusk trying to photograph wildlife, the chances of getting a sharp image increase because you have a whole series of shots to choose from.
Now, when you throw a lens with IBIS into the mix, it’s like having a built-in safety net. This tech can stabilize your shots by about 5-8 stops! That means you can shoot at slower shutter speeds without worrying as much about camera shake. Picture this: you’re trying to capture a bird taking flight—by using burst mode and IBIS, you can snap multiple frames as it flaps its wings, and there’s a higher chance that at least one of those shots will be beautifully crisp.
To maximize image quality during handheld long exposures, combining IBIS with soft, diffused lighting can help reduce motion blur and enhance detail clarity.
Real-World Applications: Achieving Stunning Long Exposures
You know, when it comes to achieving stunning long exposures, you might be surprised to learn that you don’t always need a tripod! With modern stabilization technologies, like In-Body Image Stabilization (IBIS) and Optical Image Stabilization (OIS), you can actually capture handheld long exposures of up to 30 seconds without worrying too much about camera shake.
For example, if you’re using a lens like the Tamron 70-180mm F/2.8, which has built-in vibration control (VC), you’ll notice a significant improvement in your low-light shots. Also, it helps to adopt a steady grip—think of it like cradling the camera gently—and you can even use natural supports like a wall or a railing. If you’re feeling adventurous, trying multiple 0.5-second exposures and then stacking them can yield fantastic results, too!
Many photographers create breathtaking images of the night sky or crashing waves using these techniques. It’s all about experimenting and finding what works best for you. So, whether you’re out capturing the stars or a sunset, there are plenty of ways to play with long exposures without the need for a tripod! Cameras like the Canon EOS 250D offer Dual Pixel Autofocus which aids sharpness in challenging lighting during handheld long exposures.
Creative Techniques to Push the Boundaries of Handheld Photography
When it comes to handheld photography, there are some super creative techniques you can try that really push the limits of what you can capture. One of the coolest things about using advanced Image Stabilization (OIS) is that it lets you take long exposure shots without a tripod. So, if you want to shoot a serene waterfall, for example, you can use a slower shutter speed and still keep everything nice and sharp.
Another great tip is to use ND (neutral density) filters. These handy little gadgets reduce the amount of light hitting your camera’s sensor, which means you can get that lovely blurred motion effect in your photos. Imagine clouds drifting gracefully across the sky or water flowing smoothly down a stream—that’s the kind of magic ND filters help create.
You can also get creative by combining several shorter exposures. Let’s say you have 80 shots of just half a second each; when you stack those together, you can mimic a long exposure effect while keeping all the clarity. If you’re into astrophotography, try experimenting in different settings—shooting in a quiet field versus a busy park can lead to stunningly different results.
To minimize camera shake while shooting handheld, using a mirror lockup and a remote shutter release can really help out. These techniques let you focus on composing your shot instead of worrying about blurriness from movement. Using an external field monitor can also assist in ensuring your framing and focus are precise during handheld long exposures. So, there you have it! With these tips in your back pocket, you’ll definitely be on your way to capturing some incredible handheld photos. Ready to explore some creative angles next?
Frequently Asked Questions
Which Camera Has the Best Stabilisation?
We think Canon’s EOS R5 stands out for its 8 stops of stabilization, providing exceptional low light performance and image quality. User reviews highlight its lens compatibility and effective handheld techniques, outperforming other camera brands in competitive analysis.
What Is the 20 60 20 Rule in Photography?
In our photography practice, we follow the 20 60 20 rule: 20% mastering techniques like the exposure triangle, 60% exploring creative framing and visual storytelling, and 20% reflecting on our images’ depth and dynamic range.
How Much Shutter Speed Is Good for Handheld Photography With No Stabilisation?
For handheld photography without stabilization, we recommend a shutter speed of at least 1/60 second under good light conditions. With proper wrist positioning and stability techniques, we can achieve ideal results, minimizing motion blur in our images.
How Do You Stabilize a Camera for Long Exposure?
Who needs a tripod in low light photography, right? We can experiment with dynamic settings using stabilization devices, smart camera techniques, and even handheld methods to reduce motion blur during long exposure—let’s just keep it steady!