As an Amazon Associate, we earn from qualifying purchases. Some links on this site are affiliate links at no extra cost to you. Our recommendations are based on thorough research and editorial judgment.

Event Flash Photography: How to Use Flash Without Annoying People
When we use flash in event photography, it’s important to minimize disruption. We can bounce flash off ceilings or walls for softer light, reducing harsh shadows. Positioning our flash out of the subject’s line of sight helps keep them comfortable. Using diffusers also softens the light. In low-pressure situations, introducing flash gradually can make subjects feel more at ease. By following these strategies, we can photograph moments while keeping the atmosphere enjoyable for everyone involved. More tips await as we explore further.
Key Takeaways
- Utilize bounce flash techniques to soften harsh light and create more flattering illumination for subjects.
- Communicate with subjects beforehand to acclimate them to flash usage and reduce anxiety.
- Keep flash units out of direct sight to avoid distracting subjects and capture candid moments.
- Use off-camera flash positioning to control light direction while minimizing distracting shadows.
- Practice flash photography in low-pressure settings to enhance comfort and enjoyment for all involved.
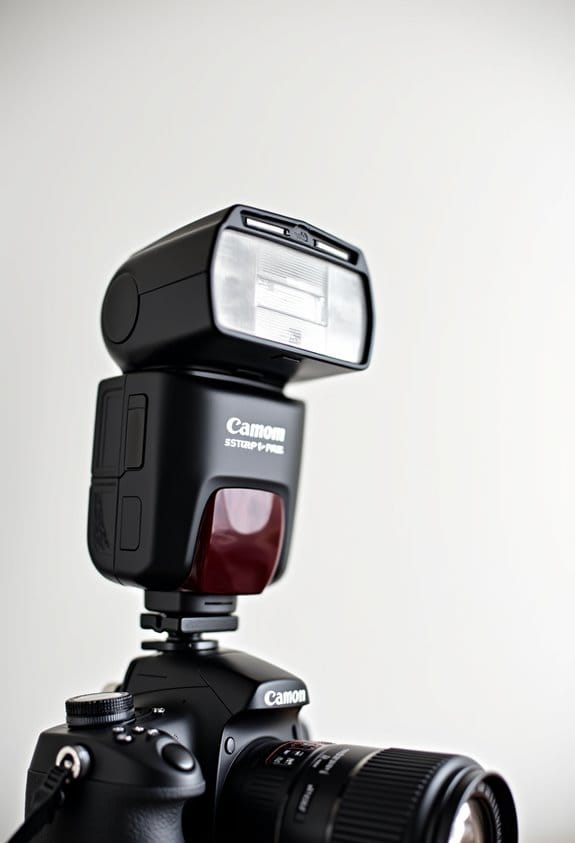
Techniques for Reducing Flash Disruption

Hey there! So, let’s chat about photography and how to handle that pesky thing called flash disruption. When we’re snapping pictures with flash, the bright light can really throw off the vibe, right? One trick to soften that harshness is to use bounce flash. Instead of pointing the flash directly at your subject, aim it at a nearby ceiling or wall. This way, the light bounces around, creating a gentler and more flattering glow on your subject.
Another great option is off-camera flash. This technique allows you to control the direction of the light better, which helps soften harsh shadows. For example, if you’re shooting a portrait, you can position the flash at a 45-degree angle to your subject, which softens their features instead of casting unflattering shadows.
And here’s a little tip: when you start shooting, give your subjects a heads-up about the flash. A few test shots early on can help them get used to the light, making their reactions less startling. Plus, the more you use flash, the more comfortable everyone gets, and it won’t become such a distraction during events. You’ll end up capturing those perfect moments without that disruptive flash factor! Now, let’s talk about how to improve your overall lighting balance in different settings. Using a DSLR video monitor can also help you gauge and adjust light effectively on the fly for the best shot.
Flash Positioning Strategies

Hey there! Let’s chat about flash positioning and how it can seriously improve your photography skills. One great tip is to set up your off-camera flash units in the corners of the room. Why? Because this placement maximizes diffusion and helps eliminate those harsh shadows that can pop up in photos.
Another trick is to point the flash at the ceiling. Doing this creates a soft, ambient light that really brings out the warmth of the venue. Imagine capturing a cozy party scene where the light dances gently off the walls—that’s the kind of vibe you create! When you’re using the flash on-camera, try adjusting the beam zoom. It helps cut down on the harsh direct light hitting your subjects, giving you a little more control over how they look. And remember, keeping the flash out of their immediate line of sight helps minimize distractions.
With these techniques in your toolkit, you can achieve those beautifully balanced shots while keeping your audience comfortable and relaxed. For added flexibility, consider using flashes that support high-speed sync to manage exposure even in bright environments. I can’t wait to see how these tips transform your photos! Now, let’s talk about some other elements that can elevate your photography even further.
Utilizing Diffusers and Bounce Techniques

Hey! So, let’s talk about using diffusers and bounce techniques to light up your photos. These methods can really transform your images! When you use bounce flash, you’re actually reflecting light off surfaces like ceilings or walls, which softens the light and helps to minimize those harsh shadows. For example, if you direct your flash towards a white or cream ceiling, it diffuses beautifully and gives off a nice, even glow. Just keep in mind that using colored walls can sometimes throw strange color casts into your shots, so stick with neutrals if you can.
Another handy tip is to position your flash out of the direct line of sight from your subject. This way, it won’t be as distracting when you’re capturing those candid moments. Imagine a wedding where you’re shooting the couple during their first dance; using these bounce techniques allows you to capture the joy without the distraction of a bright flash in their eyes. With a bit of practice and experimentation, you’ll start to notice how well-lit and natural your images can look. Choosing a flash with adjustable power levels can also help you control the intensity of the light for different bounce scenarios.
Adapting to Flash in Domestic Settings
Adapting to flash in domestic settings is something many families go through, and it can actually be a pretty smooth process for everyone involved. For starters, if the kids find the flash a bit jarring at first, don’t worry! Just like anything new, they’ll get used to it over time, especially if you introduce it in low-pressure situations.
Try snapping a few casual photos during family game night or while watching a movie together. This way, the flash becomes a natural part of the moment rather than something to be anxious about. You can also rotate who’s behind the camera; let your partner or the kids take some pictures themselves. This shifts the focus from just being photographed to actively participating, which can help everyone feel more at ease.
Another great tip is to soften the flash if someone is particularly sensitive to bright lights. Using a diffuser, for example, can help create a gentler light that works wonders. Overall, as you continue to practice taking pictures at home, everyone will grow more comfortable, making those special moments even more enjoyable to capture and relive together. Considering softening diffusers can vastly improve the quality and comfort of flash photography in these settings.
Best Practices for Flash Photography
Hey there! Let’s chat about flash photography and how a few best practices can really take your shots to the next level. First off, one trick you should definitely try is bounce flash. Instead of pointing the flash directly at your subject, angle it toward a ceiling or wall. This way, the light softens up a lot, giving your photos a more flattering look. For example, if you’re indoors and can bounce off a white ceiling, it’ll create a beautiful, diffused effect that reduces harsh shadows.
Next, when you’re ready to shoot, switch your camera to Manual mode. Setting your aperture to f/5.6 or f/8 strikes a nice balance for depth of field and light control. And don’t forget about ISO! Setting it to 800 helps keep things bright without overdoing it on the flash. This tip not only lights up your scene but also helps save battery power. If you find your subjects are too bright, you can use exposure compensation—like adjusting it to -2/3—to tame those highlights.
Lastly, consider starting with lower flash power settings. This gradual exposure helps your subjects adjust, making the lighting feel more natural. Think about it as warming them up to the idea of the flash. Using an external DSLR microphone can also enhance your event photography by capturing clear audio alongside your visuals. Once you get the hang of these techniques, you’ll see a marked difference in your photography. Ready to experiment a bit more with your camera? There’s so much to explore!
When to Use a Flash Indoors
Okay, let’s chat about using a flash indoors! So, when you’re shooting in low-light situations, the flash can really come to the rescue and light up your subjects. For example, if you’re at a friend’s birthday party and it feels a bit too dim, popping that flash can help bring your friends into focus and create a lively shot.
Now, have you ever noticed when you take a picture of someone standing in front of a bright window, they end up looking like a silhouette? That’s where the flash becomes super handy! It helps balance out the light and reveal the details of your subject. Just a quick tip: instead of pointing the flash directly at your subject, try bouncing it off the ceiling or a nearby wall. This softens the shadows and gives a more natural feel to the light.
Don’t forget about the distance between your flash and your subject! Staying too close can wash out your images, so find that sweet spot. And if you’re aiming for a nice blurry background to really make your subject pop, flashing it can help create that shallow depth of field, making your indoor shots more striking.
With these tips in your pocket, you’ll feel more confident navigating indoor photography. To get the best video output during your shoots, consider using a high-speed HDMI cable for your DSLR to maintain quality and reduce latency.
Now, let’s see how we can tackle outdoor lighting scenarios!
Daytime Outdoors
Hey there! You know, when we’re outdoors taking photos, managing light during the day is super important for capturing those amazing shots. Natural sunlight can really work to our advantage, but it can be tricky too. For example, if you’re snapping a pic in direct sunlight, you might end up with harsh shadows on your subject’s face. A quick fix? Just change your angle a bit and reposition your subjects to find that sweet spot where the light flatters them.
Sometimes we face subjects being backlit, which means they’re standing against a bright background. That’s when using a flash comes in handy! It can act as a fill light to brighten them up and prevent them from looking like silhouettes. On the other hand, if you’re in a shaded area, it’s best to skip the flash; it can make the lighting feel really unnatural. Instead, look for a brighter spot to relocate your subjects—it’ll make a world of difference. And don’t forget about a polarizing filter! It can help enhance those vibrant colors and cut down on glare, giving your photos even more punch. Also, regularly maintaining your camera gear and keeping your sensor clean with a sensor cleaning kit ensures your images stay sharp and clear.
When to NOT Use Flash
Hey! So, let’s chat about when flash isn’t the best option for photography. At big events like concerts, you might think using flash is a good idea, but often, it doesn’t really help. The problem is, flash can’t reach those faraway performers, and you end up with dimly lit photos. Plus, it can be a real mood killer since many venues actually ban flash photography to keep the vibe alive.
Now, let’s talk about those candid moments. When you’re trying to capture something natural, flash can be a bit intrusive, right? Imagine sneaking a shot of friends laughing or someone lost in thought—flash would draw attention and disrupt that moment. Also, if you’re out at night, you might get better shots without flash. Natural light from streetlamps or neon signs can give your photos a cool atmosphere that flash just can’t replicate. In contrast, modern cameras like the Nikon Z8 feature advanced sensor and low-light capabilities, making it easier to shoot in darker environments without relying on flash using their 45.7MP stacked BSI CMOS sensor.
Frequently Asked Questions
How to Shoot an Event With Flash?
To shoot an event with flash, we should consider the event environment and adjust flash duration appropriately. Using off-camera techniques and bouncing light can help create beautiful, flattering images while keeping everyone comfortable and engaged.
How to Make Flash Less Harsh?
To make flash less harsh, we can use the bounce technique for soft light. Directing the flash off surfaces diffuses the intensity, creating a more natural look and reducing those stark shadows that often trouble our subjects.
What Is the 20 60 20 Rule in Photography?
The 20 60 20 rule in photography helps us balance our compositions. By using lighting ratios effectively, we can guarantee that 20% highlights our subject, 60% provides context, and 20% adds supporting elements for enhanced storytelling.
What Is the Rule for Flash Photography?
Isn’t it important to be considerate while using our flash? The rule for flash photography includes understanding flash etiquette and balancing ambient light, ensuring we create beautiful images without overwhelming our subjects.