As an Amazon Associate, we earn from qualifying purchases. Some links on this site are affiliate links at no extra cost to you. Our recommendations are based on thorough research and editorial judgment.
Video Features Photographers Should Understand (and Why They Matter)
As photographers, understanding video features like resolution, frame rate, and audio quality is essential for enhancing our visual storytelling. Higher resolutions, such as 4K, increase detail but demand more storage. Frame rates influence motion; for example, 24fps is standard for films. Good audio enhances clarity, making external microphones valuable. Ergonomics matter for comfort during shoots, while understanding manual settings lets us control creative outcomes. Exploring these features can considerably boost our video work’s overall impact and quality.
Key Takeaways
- Understanding video resolutions, such as 1080p and 4K, helps photographers choose the appropriate quality for specific projects and storage capabilities.
- Selecting the right frame rate ensures smooth motion; adhering to the 180-degree shutter rule enhances natural motion blur for video aesthetics.
- Choosing the appropriate lens influences the visual style, with various options like wide-angle or telephoto serving different shooting scenarios and subjects.
- High-quality audio from external microphones significantly improves sound clarity, making it essential for professional-grade video production.
- Familiarity with manual settings allows photographers to gain full creative control, ensuring optimal exposure, focus, and overall visual consistency in varying conditions.
Video Resolution

Hey there! Let’s chat about video resolution because it’s super important for making our videos look crisp and detailed. You’ve probably heard of terms like 1080p, 4K, and even 8K, right? These refer to different levels of clarity. For most of our projects, 1080p works just fine, especially since many people still watch on screens that aren’t 4K. But if you’re aiming for that extra pop in quality for something like a nature documentary or a wedding video, stepping up to 4K or 8K can really make a difference.
However, keep in mind that shooting in higher resolutions means you’ll need more storage and powerful equipment. This is because the files are larger, and you’ll probably need editing software that can handle it. Plus, going for those higher resolutions might limit your frame rate options on your camera. So, it’s all about figuring out what looks best for your project without overloading yourself with tech requirements. It’s kind of like finding the perfect balance—quality versus practicality. Speaking of which, let’s move on to how frame rates can impact your video style!
Also, choosing cameras with 4K Video Recording capabilities ensures you can capture stunning, high-quality footage suited for diverse storytelling needs.
Frame Rate

Hey there! Let’s chat about frame rate—it’s just as essential as the video resolution you keep hearing about. Frame rate, which is measured in frames per second (fps), really influences how smooth the motion looks in your videos. For example, films often use 24fps for that classic cinematic vibe, while TV shows usually stick to 30fps. If you’re working on a fast-paced action scene, cranking it up to 60fps can give you those buttery smooth visuals.
But here’s the catch—higher frame rates, like 120fps, can make your video files pretty hefty, which might slow down your editing process. You’ll also want to keep things looking natural, so remember the 180-degree shutter rule. That means setting your shutter speed to double your frame rate for a sense of natural motion blur. So, if you pick 30fps, your shutter speed should be set at 1/60th of a second.
Getting the right frame rate is all about matching your vision to your end platform, whether that’s YouTube, TV, or the big screen. So, what’s next on our list of video-making essentials? Also, using video stabilization gear like a Zeadio stabilizing handle can help keep your footage smooth, especially when shooting action scenes or handheld videos.
Lens Options
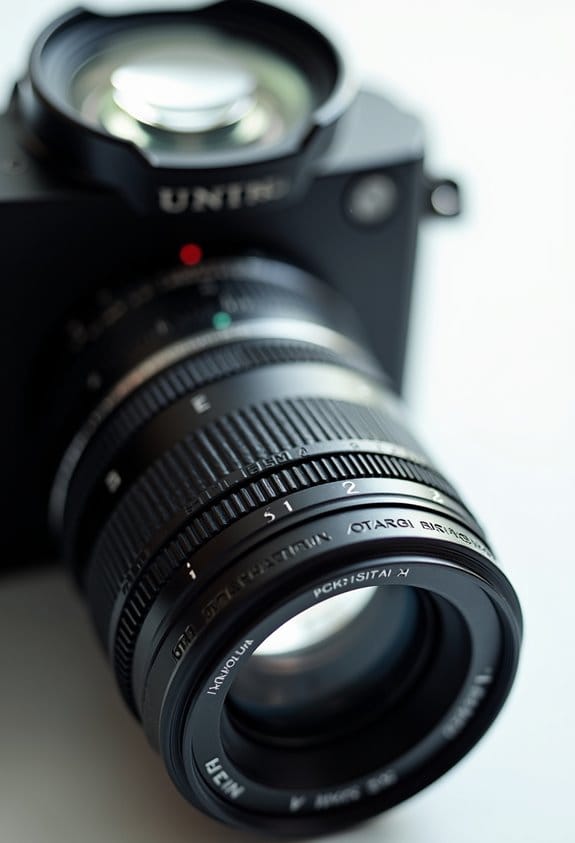
When it comes to creating videos, the lens you choose plays a huge role in how the final product looks and feels. It’s like picking the right pair of glasses to see the world clearly! For instance, if you’re shooting landscapes or architecture, a wide-angle lens is fantastic—it allows you to capture more of the scene, making those sweeping vistas or impressive buildings come to life in your footage. Just be mindful of how it can stretch objects at the edges of the frame!
On the flip side, if you’re interested in capturing close-ups of animals in the wild or thrilling sports moments from a distance, a telephoto lens is your best bet. It helps you zero in on your subject while creating a beautiful background blur. Plus, having interchangeable lenses is a great way to adapt to different shooting situations quickly. For those moments when you’re in low light, a prime lens shines with its sharp image quality and wide apertures, which allows more light to hit the sensor.
Your lens choice can really shape how your story comes across, especially when it comes to depth of field—a technique that can emphasize your main subject beautifully. So, consider what you’re shooting and how you want to present it; your lens can greatly enhance those creative decisions. For example, lenses like the Canon RF70-200mm F2.8 L USM telephoto provide wide aperture options that improve low-light performance and background blur. Now, let’s talk about how to actually use these lenses to your advantage while filming!
Autofocus System
So, once we’ve nailed down the perfect lens for our project, the next thing we need to think about is the autofocus system. An advanced autofocus system is a lifesaver, especially with features like face and eye detection. It ensures that our subjects stay sharp and focused, even when things get a bit chaotic. For instance, if you’re filming a child running around, continuous autofocus (AF-C) keeps the camera locked onto their face, which is super helpful to avoid blurry moments.
Also, you’ll find that cameras with more sophisticated autofocus systems save you from constantly fiddling with manual focus adjustments. This lets you concentrate on framing your shots and telling your story. Just keep in mind that lighting can really affect how well the autofocus works—so it’s wise to choose a camera that performs well in different lighting conditions. That way, you’ll be set up for success, no matter where your project takes you!
Many cameras use Dual Pixel CMOS AF technology, which offers smooth and accurate focusing for both photos and videos.
Now that we’ve covered autofocus, let’s chat about how to choose the right camera settings to complement your lens and autofocus system.
Image Stabilization
Hey there! So, when we’re making videos, effective image stabilization (IS) is super important if we want our footage to look sharp and professional. You know how sometimes when you’re holding a camera, it feels like you’ve got shaky hands? That’s where IS comes in—it helps smooth out those jitters, especially when you’re shooting handheld, which happens a lot in filming.
There are two main types of IS. First, there’s optical stabilization, which is built right into the lens or camera—think of it as a magic trick that the camera does for you to keep things steady. Then, there’s digital stabilization, which kicks in during editing to smooth things out if they’re a little shaky. For instance, if you’re capturing a scenic view with a zoom lens, IS really shines because higher zoom levels tend to make any shake much more noticeable.
But keep in mind, while IS is fantastic for minimizing camera shake, it doesn’t deal with movements of the subjects in your frame. So, it’s a good move to pair IS with tools like tripods or gimbals for even steadier shots. This combination will truly elevate your footage! Speaking of tools, let’s explore some options you might consider for your next project. Many filmmakers use DSLR gimbal stabilizers to achieve smooth cinematic shots thanks to advanced stabilization technology.
Audio Features
Hey there! Let’s chat about audio features in video production because they’re just as crucial as the visuals. You might not realize it, but having high-quality audio can really keep your viewers engaged and enhance the overall experience of your project. For example, think about watching a movie where the dialogue is muffled—it’s pretty frustrating, right?
Now, if you’re using a lower-end camera, you might be stuck with just one audio source through a tiny 1/8th inch audio jack. This can really limit your options when it comes to microphones. On the flip side, if you have a camera that accepts XLR inputs, you’re in for a treat! XLR setups provide balanced audio, which means less interference. Plus, they let you use professional mics that can capture both clear dialogue and those subtle background sounds that create atmosphere, like the rustling leaves or distant conversations.
To get the best sound, many videographers turn to external microphones that offer superior clarity and noise reduction compared to built-in options.
Battery Capacity
When you’re working on video projects, high-quality audio is crucial, but let’s not forget about battery capacity. You’d be surprised at how different cameras come with varying battery sizes, and if you’re using a professional model, you’ll likely need a bigger battery to keep filming for long periods. For instance, if you’re shooting an indie film, those cinema rigs can drain batteries pretty quickly, which is why I always recommend having a stash of spares ready to go.
Think about your shoot schedule—if you’ve got a long day planned, extra batteries are a must to keep things rolling smoothly. And here’s a tip: while larger batteries pack more power, they can also make your setup heavier, which might affect how stable the camera feels, especially during extended shoots. It’s all about finding that balance to maintain comfort without sacrificing power. Also, considering battery capacity measured in mAh is essential for understanding how long your batteries will last during extended filming sessions.
Ergonomics
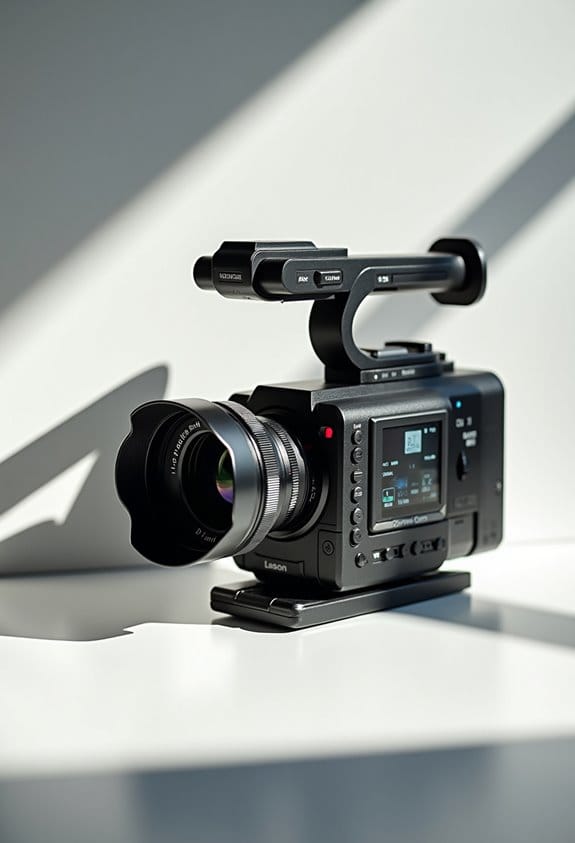
Hey there! So, you know how important ergonomics is when you’re working on video projects, right? It really shapes how comfortable and effective we are while filming. Take professional camcorders, for instance. They’re built with ergonomics at the forefront, so they come with comfy handles and controls that are easy to reach. This makes it so much easier to shoot for hours without feeling sore.
Now, compare that to consumer cameras. You’ll notice they usually miss out on those thoughtful ergonomic touches, which can make a big difference when you’re trying to handle everything from zooming to adjusting settings on the fly. With a pro camcorder, you can personalize it to fit your needs, whether that’s adding a stabilizer or attaching an external mic. A well-balanced camera can mean the difference between shaky footage and those smooth, cinematic shots we all want.
Prioritizing ergonomic design isn’t just about comfort—it actually helps reduce fatigue, which means you can put more energy into your creativity during those long filming sessions. Using accessories like a camera hand strap can further enhance grip and control, making shooting more comfortable over time. Next up, let’s talk about how the right accessories can further enhance your shooting experience!
Manual Settings
Hey there! Let me tell you why understanding manual settings is a game-changer for capturing amazing video quality. When we rely on fully automatic cameras, we often end up with footage that doesn’t quite hit the mark, especially in focus and lighting. It’s like asking your friend to take a photo of you without giving any hints; they might catch you at an awkward moment!
Take shutter speed, for instance. It’s a crucial manual control you want to get comfy with. Ideally, it should be set to double your frame rate. So if you’re shooting at 24 frames per second, crank that shutter speed up to 1/50th of a second. This gives your video a natural motion blur that feels just right—perfect for that cinematic vibe.
And don’t forget about white balance; it’s another important manual setting. Setting it ahead of time helps keep your colors looking consistent. For example, if you’re shooting indoors with warm lighting, you’ll want to set your white balance to match so that your colors pop instead of looking yellow or washed out.
Using manual settings might sound a bit tricky at first, but trust me, it really gives you creative control. You’ll be able to tweak your settings based on what’s happening around you, whether it’s bright sunlight or dim indoor lighting. This way, you can capture every moment just how you envision it. Speaking of capturing moments, let’s chat about framing and composition next!
Also, using external DSLR field monitors can greatly help you check your focus and exposure on the go, especially in challenging lighting conditions.
Frequently Asked Questions
How Do Video Features Affect Still Photography Quality?
Video features enhance still photography quality by providing higher resolution, improved autofocus systems, and greater dynamic range. Frame rates influence how we capture motion, while effective color grading can elevate the overall aesthetic of our images.
Can I Use My Photography Lenses for Video Shooting?
Yes, we can use our photography lenses for video shooting! Let’s consider lens compatibility, focus techniques, stabilization equipment, aperture settings, and zoom capabilities to guarantee we achieve great video quality together.
Are There Specific Settings for Shooting Video in Low Light?
In the shadows, we find magic. For low light settings, we’ll boost video ISO, balance shutter speed, and choose frame rates wisely. Using creative lighting techniques transforms dim scenes into stunning visual tapestries.
How Does Video Editing Differ From Photo Editing?
Video editing differs greatly from photo editing; we’ve got to focus on color grading techniques, utilize timeline organization tools, employ audio synchronization methods, and apply motion graphics tips while optimizing our workflow for a seamless final product.
What Accessories Enhance Video Quality for Photographers?
To capture video like a painter with a brush, we need essentials: tripod stability for steady shots, audio equipment for crisp sound, varied lighting options, gimbal stabilization for smooth movement, and external monitors for precise framing.


