As an Amazon Associate, we earn from qualifying purchases. Some links on this site are affiliate links at no extra cost to you. Our recommendations are based on thorough research and editorial judgment.

The Exposure Triangle Cheat Sheet: What to Change and When
To effectively use the exposure triangle, we should adjust aperture, shutter speed, and ISO based on lighting conditions. In bright light, we can use a low ISO (100-200), fast shutter speed, and smaller aperture (f/8 to f/11). In low light, it’s helpful to increase ISO (800-3200) and open the aperture (f/1.4 or f/2.8). By practicing these adjustments, we can capture excellent photos, and there’s more to discover about each component’s role in photography.
Key Takeaways
- Adjust aperture for depth of field: widen it for a blurry background in portraits, or narrow it for sharpness in landscapes.
- Change shutter speed to freeze action or create motion blur; faster speeds capture moving subjects, while slower speeds can enhance dynamic scenes.
- Increase ISO in low light situations to maintain proper exposure but be mindful of potential noise in the image.
- Maintain proper exposure by simultaneously adjusting one of the three elements of the exposure triangle when changing any single setting.
- Familiarize yourself with common scenarios and their ideal settings, like using low ISO and fast shutter speed in bright sunlight.
Understanding the Exposure Triangle
Hey there! Let’s chat about something really foundational in photography: the exposure triangle. It might sound a bit technical, but it’s such a handy concept that can seriously elevate your photos. The triangle has three key components—aperture, shutter speed, and ISO—and they all work together to help you get the perfect exposure.
First up, there’s aperture. Think of it as the window through which light enters your camera. A larger aperture, marked by a smaller f-stop number (like f/2.8), lets in more light, but it also creates a blurred background effect—ideal for portraits where you want your subject to pop. Then, we have shutter speed, which controls how long that light hits the sensor. If you want to freeze a fast-moving subject, like a dog running, you’d use a faster shutter speed, like 1/1000 second. On the other hand, if you’re capturing a waterfall, a slower speed can create that beautiful, silky effect.
Lastly, there’s ISO, which determines how sensitive your camera’s sensor is to light. Raising the ISO helps you in dim conditions, but keep in mind, higher ISO settings can introduce grain or noise. So, it’s all about finding the sweet spot based on the lighting conditions you’re shooting in.
Understanding the exposure triangle helps you capture the images you envision. Additionally, balancing shutter speed with matching aperture settings and adjusting ISO is essential for maintaining image quality. Once you get the hang of these three elements, you’ll be well on your way to mastering your camera! Now that we’ve covered the basics, let’s talk about how to practice these concepts in the real world.
The Role of Shutter Speed
Hey there! Let’s talk about shutter speed. It’s a pretty big deal in photography because it controls how long light hits the camera’s sensor. Think about it this way: if you set your shutter speed to a super-fast 1/1000 of a second, you can freeze motion. This is ideal for capturing that split-second when a runner crosses the finish line or when a bird takes flight.
On the flip side, if you slow down your shutter speed, you can create beautiful motion blur. Imagine taking a picture of a waterfall; a slower shutter speed can make the water look silky and dreamy, which adds an artistic touch to your shot. Just keep in mind that to avoid any camera shake, it’s a good rule of thumb to set your shutter speed at least to the reciprocal of your lens’s focal length. So if you’re shooting with a 50mm lens, aim for at least 1/50 of a second.
Using a camera with built-in image stabilization can also help achieve sharper images at slower shutter speeds.
Aperture Settings Explained

Hey there! Let’s chat about aperture settings, which are super important for controlling how much light gets into your camera. Essentially, these settings manipulate the size of the lens opening, and we refer to them using f-stops. For instance, if you set your camera to f/1.4, you’re allowing in a lot of light, creating that dreamy blur in the background—perfect for portraits where you want to make your subject pop!
On the flip side, when you use a larger f-number like f/22, less light gets in, which sharpens everything—from the foreground to the background. This is ideal when you’re shooting landscapes and want every detail in focus. Just remember, when you tweak the aperture, you also need to adjust things like shutter speed or ISO to keep your exposure on point. Many DSLR cameras with DIGIC 4+ image processors support precise aperture adjustments to enhance image quality.
ISO: Sensitivity and Image Quality
Hey there! Let’s chat about ISO and its impact on image quality in photography. You see, ISO measures how sensitive your camera’s sensor is to light. Think of it like the volume knob on a speaker—turn it up when it’s quiet (low light) or down when it’s too loud (bright light).
So, when you’re shooting in bright sunlight, like on a beach or at a park, setting your ISO to 100 helps capture vivid colors and keep your images crisp. But if you’re in a dim café or at sunset, bumping up your ISO lets you use faster shutter speeds, so you won’t end up with blurry photos. Just keep in mind that if you push your ISO too high—like above 800—you might notice some grainy noise creeping into your pictures, which can muddy the overall quality.
Every camera behaves a bit differently, so it’s worth checking where it performs best, typically between ISO 100 and 800 for most models. Finding the right ISO setting can really make a difference in your photos. It’s all about balancing exposure, and sometimes it just takes a bit of trial and error. Using accessories like the Ultimaxx 55MM Accessory Kit can help you enhance your photography experience while managing light and settings effectively. Now, let’s move on to shutter speed and how it works hand-in-hand with ISO and aperture!
Practical Tips for Adjusting Camera Settings
Hey there! Let’s talk about how adjusting your camera settings can really make a difference in the photos you take. First off, setting your aperture is super important because it controls how much light gets into your lens and affects the depth of field. For example, if you want a nice blurry background for a portrait, go for a wider aperture like f/1.4. But if you’re capturing broad landscapes, a smaller aperture like f/16 will keep everything in focus.
Now, after you’ve got that set, it’s time to think about shutter speed. This part is all about how fast your camera takes the picture. If your subject is moving quickly, like a runner, you’ll want a faster shutter speed to freeze that action. On the other hand, if you’re trying to capture the graceful blur of a waterfall, a slower shutter speed will do the trick.
Don’t forget about ISO! In bright light, keep your ISO low to minimize noise. The exposure meter is your best friend here—try to keep that little needle centered so your photos are well-balanced.
Keep practicing with these settings in different lighting conditions, and soon you’ll feel more comfortable and confident behind the camera. Up next, let’s explore more tips for creative composition in your photography!
Also, understanding how sensor size impacts image quality can help you make the most of your camera settings for different shooting conditions.
Common Scenarios and Recommended Adjustments
Hey there! So, let’s chat about adjusting camera settings for different photography scenarios. If you’re out in bright sunlight, it’s smart to use a low ISO, around 100 or 200. Pair that with a fast shutter speed, like 1/200 of a second, and a smaller aperture, say f/8 to f/11. This combo helps prevent overexposing your images, making sure they look crisp and clear. Imagine capturing a vibrant flower garden in the midday sun; those settings would really help you keep the rich colors without any glare.
Now, if you’re shooting in low light, like at dusk or indoors, you’ll want to crank up the ISO to somewhere between 800 and 3200. This will let more light in. Also, use a wider aperture, around f/1.4 or f/2.8. Picture yourself at a cozy café, trying to capture that warm ambiance; these settings will really make the most of the softer light.
For action shots, like kids playing in the park, grab a shutter speed of 1/500 of a second or even quicker to freeze that motion perfectly. But if you want to create some beautiful motion blur—think of a dancer twirling—you’ll slow down the shutter speed to about 1/30 of a second. Just remember, you might need to boost your ISO or open up your aperture a bit to keep it bright enough.
When it comes to portraits, using a large aperture like f/1.8 is a must. It sharpens your focus on the subject while giving that soft, dreamy look to the background. Just imagine capturing a candid smile with a nice blur behind it; it truly makes the person pop!
In photography, it’s all about finding the right balance based on your environment. Let’s explore how different lighting can affect other types of photography! Also, when shooting underwater or in wet conditions, don’t forget to consider using waterproof housing to protect your camera equipment effectively.
Resources for Further Learning
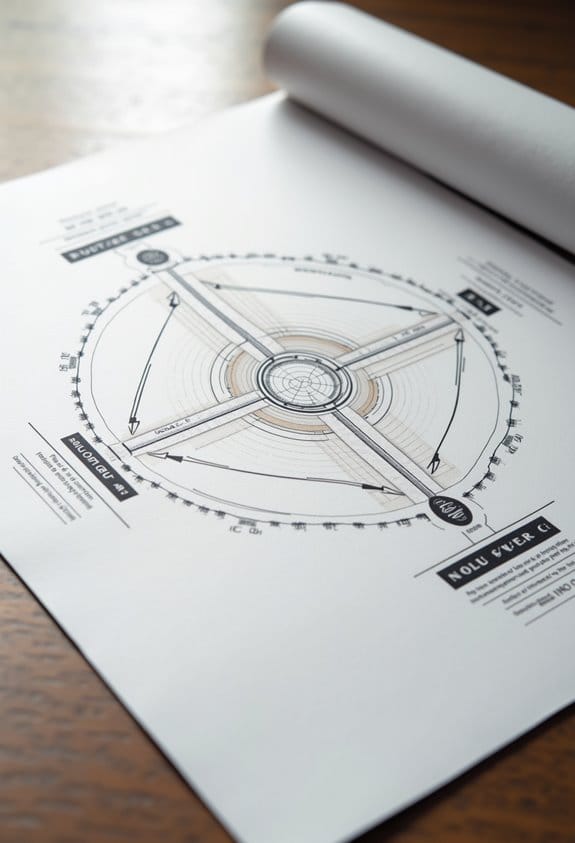
When it comes to taking great photos, understanding exposure is key to making your images pop. The exposure triangle—shutter speed, aperture, and ISO—sets the foundation for every shot you take. If you want to wrap your head around these concepts easily, check out the free “Exposure Triangle Cheat Sheet.” It’s packed with 20 pages of straightforward explanations and handy tips, including a neat mental workflow chart to help you remember how to tweak those settings on your camera.
Once you’ve got the cheat sheet on hand, try out a few experiments. For instance, pick a subject and adjust the shutter speed to see how it affects motion blur. Play around with the aperture to see how it changes the background focus. This hands-on practice will really help lock in your learning!
If you’re hungry for even more insights, grab a copy of the “Ultimate Guide to Exposure” e-book. It’s filled with practical advice for different lighting scenarios and can really sharpen your skills. By combining these resources and actionable practices, you’ll be on your way to capturing stunning photos in no time! For photographers on the go, choosing the right camera backpack can make a significant difference in managing and protecting your gear during shoots.
Frequently Asked Questions
What Should I Set First in an Exposure Triangle?
We usually set our aperture first to control depth and light. Then, we adjust shutter speed for fast motion or creative effects, followed by ISO sensitivity for noise reduction and dynamic range, especially in low light.
How to Adjust an Exposure Triangle?
Adjusting an exposure triangle is like fine-tuning an orchestra. We balance exposure settings by selecting aperture priority for depth, shutter speed for movement, and ISO sensitivity according to lighting conditions, ensuring creative effects, especially in low light or high contrast.
What Is the 20 60 20 Rule in Photography?
The 20 60 20 rule in photography guides our composition techniques, balancing 20% foreground, 60% midground, and 20% background. This helps with exposure guidelines and enhances depth perception through effective light metering and creative exposure decisions.
What Were the Three Settings of the Exposure Triangle You Had to Change to Create a Well Exposed Image on the Camera?
To create a well-exposed image, we must dance with aperture settings, shutter speed, and ISO sensitivity. Balancing these allows us to master low light, capture shadows, and explore dynamic range through careful histogram analysis.


