As an Amazon Associate, we earn from qualifying purchases. Some links on this site are affiliate links at no extra cost to you. Our recommendations are based on thorough research and editorial judgment.

How to Take Sharper Photos: A Practical Troubleshooting Checklist
To take sharper photos, we should start by selecting the right focus mode, like Single Point Autofocus for still subjects. Next, we need to master shutter speed, using speeds of at least 1/100 seconds for action. Aperture affects depth of field, so we typically set it around f/8 for sharpness. Good camera handling is essential; holding the camera firmly helps reduce shake. Finally, let’s make certain our lenses are clean and calibrated for the best results. There’s much more to discover on enhancing our photography skills further.
Key Takeaways
- Use appropriate autofocus modes: select AF-S for still subjects and AF-C for moving ones to ensure sharp focus.
- Adjust shutter speed to at least 1/100 second for moving subjects to avoid motion blur and maintain clarity.
- Maintain a steady grip on your camera and use both hands, especially in low light or at slower shutter speeds.
- Regularly calibrate and clean your lenses to enhance sharpness and prevent image distortion from dust and misalignment.
- Experiment with post-processing techniques like noise reduction and color adjustment to enhance image quality without compromising sharpness.
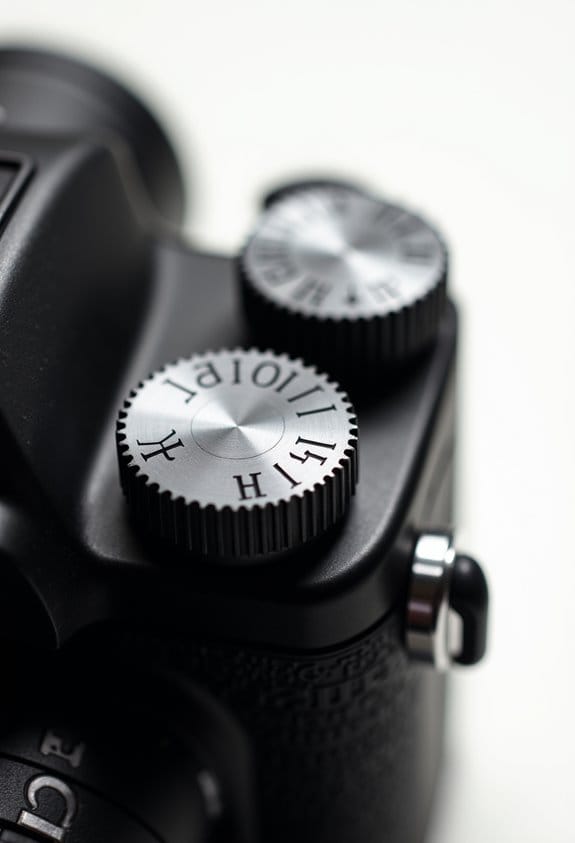
Understanding Focus Modes for Precision

If you want to capture sharper photos, understanding focus modes is super important. Each focus mode on your camera has its own strengths and weaknesses, and knowing when to use them can really improve your shots. For instance, if you’re taking a portrait and want to focus on someone’s eye, go for Single Point Autofocus (AF-S). This mode locks in on that specific area, ensuring a crisp, clear image.
Now, if you’re photographing something that’s moving—like a kid running or a dog at the park—Continuous Autofocus (AF-C) is your best friend. It keeps adjusting focus as the subject moves, which helps you maintain sharpness throughout the action. Also, using Dynamic Area focus can be handy here; it lets you track those moving subjects without losing focus.
It’s also worth considering cameras with advanced autofocus systems like the Dual Pixel AF II to enhance tracking accuracy and keep your subjects in perfect focus.
Mastering Shutter Speed for Clarity

Mastering shutter speed is super important if you want to snap sharp photos! Think of it this way: the faster your shutter speed, the clearer your images will typically be. There’s a handy rule you can remember—try to use a shutter speed of at least 1 divided by your lens’s focal length. So, if you’re shooting with a 50mm lens, aim for at least 1/50 of a second for still subjects. If your subject is moving, bump that up to 1/100 of a second to keep everything nice and crisp.
When you’re capturing some action shots, like a fast-running dog or a busy street scene, speed things up even more. Using shutter speeds of 1/500 of a second or even 1/2500 of a second can really help you freeze that motion and prevent any blurring. If you’re shooting while holding the camera—aka handheld—try using a speed that’s double the focal length. So, with the same 50mm lens, you’d want at least 1/100 of a second. This helps control camera shake and gives you that clarity you’re after.
While shutter speed is crucial, don’t forget about the other settings on your camera, like aperture and ISO. They all need to work together to give you a well-exposed photo. Balancing these can make a huge difference in how your final image looks. Next up, let’s talk about aperture and how it contributes to the sharpness and depth of field in your shots!
To further improve image sharpness, consider using a DSLR gimbal stabilizer, which helps minimize camera shake during handheld shooting.
Optimizing Aperture and ISO Settings
Now that we’ve got a good grip on shutter speed, let’s chat about optimizing aperture and ISO settings. These are crucial for capturing those sharp, eye-catching photos we all love! A great starting spot is a medium aperture around f/8. Most lenses shine at this setting, so you get fewer diffraction problems that can happen if you go even smaller.
Don’t forget about ISO! Keeping it low is key because bumping it up can introduce noise, which just messes with your image quality. For instance, if you’re in a dimly lit room and notice you need a little more light, you might consider opening up your aperture to f/4 but keep an eye on that ISO—higher settings can get grainy. By playing around with these settings based on your lighting conditions, you’ll discover a sweet spot that gives you nice sharp images with beautiful depth of field. Cameras with a wide ISO range provide greater flexibility in adjusting to different lighting conditions. Ready to explore some practical shooting scenarios next?
Enhancing Camera Handling Techniques
Hey there! If you want to take sharper images, it all comes down to honing your camera handling techniques. First off, grip your camera firmly—wrap your fingers around the body and support the lens. This simple adjustment can really cut down on camera shake and help keep your images crisp.
Using both hands is super helpful, especially in tricky situations like low light or longer exposures. Imagine you’re in a dimly lit café; having both hands on the camera makes it much easier to keep things steady. And when standing, place your feet shoulder-width apart and tuck your elbows in. It’s just like creating a solid stance for better balance.
Also, when you’re adjusting focus or pressing the shutter button, try to do it slowly and steadily. Quick movements can lead to motion blur, which can ruin your shot. For instance, if you’re shooting a sunset, take a moment to gently press the shutter as the light fades—it pays off! And don’t forget about tripods; they’re great for shooting at slower shutter speeds without losing clarity.
Focusing on these techniques can really sharpen up your photography skills. To ensure your equipment stays powered for extended shoots, using a dual battery charger can be very helpful. Speaking of which, let’s chat about the best shooting modes to enhance your pictures even further!
Evaluating Lens Quality and Calibration
Hey there! Let’s chat about lens quality and calibration because, honestly, they can make a huge difference in how sharp your photos turn out. A high-quality lens is like a secret weapon for clarity; it helps your camera focus better and produces crisper images. You know how sometimes you snap a shot and it just feels a bit fuzzy? That could be your lens not doing its best job.
One simple thing you can do is regularly calibrate your lens with your camera. It sounds complicated, but it can be as easy as using the DotTune calibration method. This technique only takes a few minutes and can really enhance the sharpness of your pictures. Imagine stepping outside on a sunny day and capturing vibrant flowers in pristine detail – that’s the kind of difference we’re talking about!
Also, consider trying prime lenses instead of zoom lenses. Prime lenses usually offer superior detail because they have fewer moving parts and are designed for specific focal lengths. Plus, keeping your lenses clean is crucial! A little dust can turn a fantastic shot into a blurry mess. Just a quick wipe with a microfiber cloth before a shoot can help you maintain that image clarity.
Additionally, using lenses with features like Optical Image Stabilization can dramatically reduce blur caused by camera shake, improving the overall sharpness of your photos.
Implementing Post-Processing Strategies
Hey there! So, you know how having quality lenses and proper calibration is key to snapping sharp images, right? Well, post-processing strategies play a huge role in turning those good shots into truly crisp ones. Think about it: tools in software like Lightroom and Photoshop can really help us sharpen our images, especially when we’re dealing with high ISO photos that tend to be grainy. But we have to be careful not to crank up the sharpness too much, or we’ll just end up highlighting the noise.
Selective sharpening is a great technique! It lets us enhance the high-contrast edges of our photos without making it look overdone. For example, if you have a portrait where the subject’s eyes are super sharp but the background is soft, you can focus the sharpening just on the eyes. Also, using the Clarity slider can boost mid-tone contrast, which makes your images pop and feel sharper without any weird artifacts.
And here’s a pro tip: layer masks are your friends. They help you sharpen only the parts you want while keeping backgrounds looking soft and natural. Plus, when you output your images at different resolutions, you can see how that sharpened effect holds up across various formats, like for social media or prints. It’s all about enhancing what’s already there in the most pleasing way. Since cameras like the Nikon D7500 feature a wide ISO range that can introduce noise at higher settings, mastering noise reduction in post-processing becomes even more important. Speaking of enhancing, let’s talk about how to adjust colors in post-processing next!
Frequently Asked Questions
How to Take Really Sharp Photos?
To take really sharp photos, we should use fast shutter speeds, optimize aperture settings, select appropriate lenses, apply stabilization methods, and focus accurately. Also, consider lighting conditions and composition rules while keeping subject distance in mind.
What Are the 5 C’s of Photography?
The 5 C’s of photography are composition techniques, capture settings, clarity of focal points, creativity through lighting effects, and context with subject placement. Together, they enhance depth control and color balance for stunning images.
What Is the 20 60 20 Rule in Photography?
The 20 60 20 rule in photography helps us balance our work—20% focusing on perfect shots, 60% good ones, and 20% experimenting. It encourages us to refine our composition techniques, lighting effects, and camera stability.
What Is the 400 Rule in Photography?
Like a steady hand cradling a precious moment, the 400 rule in photography basics helps us avoid motion blur. By balancing shutter speed and light sensitivity, it’s essential for capturing the night sky in long exposure shots.


